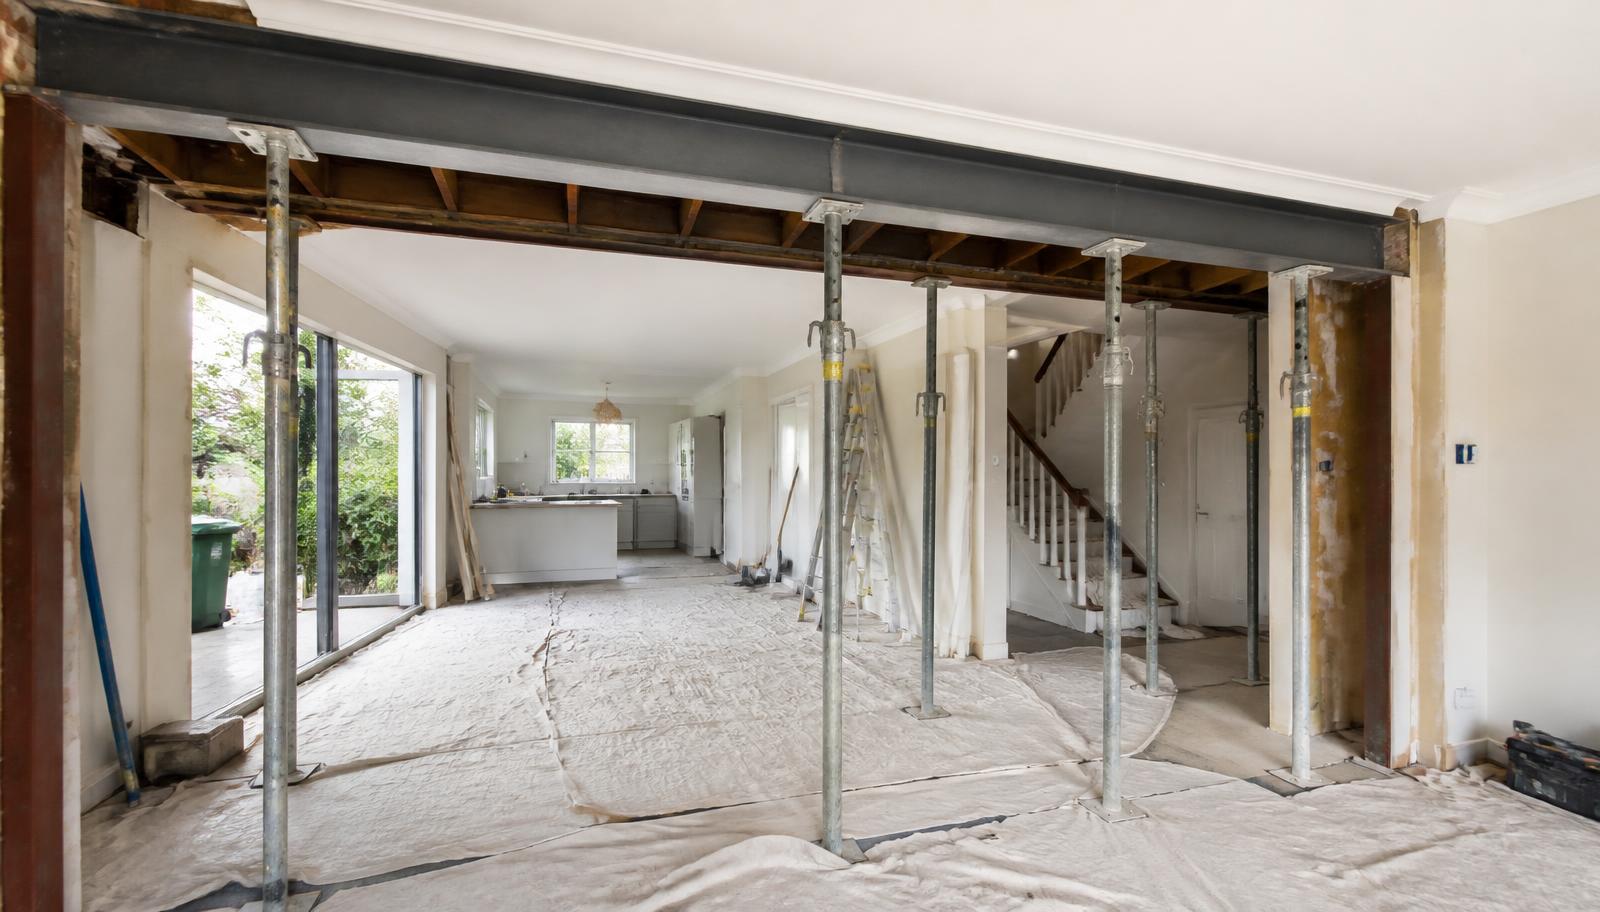
Knocking down a wall to open up a kitchen or living space is one of the most popular renovation requests we get across the Gold Coast and Logan — and one of the most misunderstood. Here's how to work out whether a wall is load bearing or a bracing wall, what a structural engineer actually does, how beams and posts are chosen, and what it realistically costs in 2026.
A load bearing wall carries roof or floor loads down to the footings, and removing one without an engineer and a properly designed beam risks structural failure. In South East Queensland, a straightforward single-storey removal with an LVL or steel beam typically costs $6,000-$18,000 including engineering, approval, propping, the beam and make-good; double-storey and full-brick jobs run higher.
Why this question matters before you pick up a sledgehammer
Every second renovation enquiry we get from open-plan hopefuls in Ashmore, Robina and Southport starts the same way: "we just want to knock through to the kitchen." Sometimes that wall is doing nothing more than dividing rooms. Sometimes it is the only thing standing between your roof trusses and the ground. The difference is not always obvious from the loungeroom, and getting it wrong is not a minor mistake — it can mean sagging ceilings, cracked cornices, doors that no longer close, or in the worst cases a partial roof collapse. This guide walks through how to work out whether a wall is structural, what an engineer actually does, how beams and posts are chosen, what removal costs across brick-and-tile homes, Queenslanders and slab-on-ground builds, and what approvals apply under Queensland's building rules.
We carry out internal wall removals and open-plan conversions across the Gold Coast and Logan, from postwar brick veneer homes in Southport and Springwood to highset Queenslanders through Logan and newer slab homes in Pimpama and Upper Coomera. The principles are consistent everywhere, but the detail — beam type, propping method, ceiling repair — changes with the construction style, and that's where a generic online cost guide falls short.
How to tell if a wall is load bearing
There is no single test that works in every house, and tapping the wall to hear if it "sounds hollow" tells you nothing reliable about whether it is structural — plenty of load bearing walls are timber stud with plasterboard, and plenty of non-structural walls are built from brick. You need to look at what the wall is actually supporting, and that means getting into the roof space with a torch.
Roof framing direction
In a standard timber-truss or rafter roof, structural walls typically run perpendicular to the ceiling joists or trusses, because that's the direction the load naturally wants to travel down to a support. If a wall runs parallel to the trusses above it and nothing sits directly on top of it, it's more likely to be a partition. If trusses or joists are clearly sitting on or bearing over a wall, that wall is almost certainly load bearing. Roof trusses in particular are engineered as a system — cutting or altering the wall a truss bears on, or the truss itself, is never a simple carpentry job and needs a truss manufacturer's engineer or a structural engineer to redesign the support.
Position relative to the ridge and external walls
Walls that sit roughly under the ridge line, or midway between two external walls, are commonly there to shorten the span of rafters, joists or trusses — which is precisely the job of a load bearing wall. Walls close to an external wall, or running in the same direction as one, are less likely to be structural but this is a guide, not a rule; every roof is different.
Slab thickening and footings
In a slab-on-ground home common around Pimpama, Coomera and Upper Coomera, structural internal walls are usually built on a thickened, reinforced strip of slab (a "thickening beam") poured specifically to carry that wall's load. You can sometimes see this as a slightly raised or differently finished strip under floor coverings, or it will show on the original engineering or slab plan if you can get hold of it from the original builder or council records. A stud wall sitting on a normal, unthickened slab is far more likely to be non-structural.
Brick versus stud, single storey versus two storey
Full masonry internal walls are more often structural than not, simply because brick is heavy and builders don't usually build load-bearing masonry walls without reason. In double-storey homes, any wall on the ground floor sitting directly under an upstairs wall is very likely load bearing, carrying floor joists, the upstairs wall itself, and roof loads down through the building. Highset and lowset Queenslanders add another layer of complexity: the original stumped structure often has internal walls that help brace the floor bearers and joists, quite apart from what they do at ceiling height.
Original building approval plans (if you can find them via council or QBCC records) are a useful starting point but are not proof of what was actually built or altered since. Many Gold Coast and Logan homes have had walls added, removed or altered by previous owners without approval. Always verify on site.
Load bearing, bracing and non-structural: three different problems
Homeowners usually only ask "is it load bearing?" but there's a second question that catches people out just as often: is the wall a bracing wall? Bracing walls resist horizontal forces — wind and, to a lesser extent, seismic loads — that try to rack the frame of the house sideways. A wall can carry almost no vertical roof load and still be a critical bracing element specified on the original engineering or as-built bracing plan. Removing a bracing wall without replacing its bracing capacity elsewhere (with a portal frame, additional bracing panels, or an engineered steel/timber bracing system) can leave a house structurally compliant for vertical loads but non-compliant, and genuinely unsafe in a storm, for lateral loads.
This matters a lot in South East Queensland given our cyclone and severe storm wind ratings. A wall that looks like nothing more than a partition between a hallway and a bedroom might be one of only a handful of bracing elements resisting wind uplift and racking in that section of the house. This is exactly why we insist on an engineer's assessment before any wall comes out, even when a homeowner is confident the wall is "just a partition."
| Wall type | What it resists | Removal risk if ignored | What replacement usually requires |
|---|---|---|---|
| Load bearing (vertical) | Roof, ceiling and/or floor loads pushing down | Sagging ceiling, cracked cornices, roof movement, floor deflection | Engineered beam on posts and footings |
| Bracing wall | Horizontal wind/racking forces | Excess building movement in storms, non-compliance with wind rating | Portal frame, bracing panels or engineered bracing connections |
| Non-structural partition | Nothing structural — room division only | Cosmetic only if removed correctly | No structural replacement, just make-good |
What a structural engineer actually does
Engaging a structural engineer isn't a box-ticking formality — it's the step that determines whether the rest of the job is safe and compliant. A typical engagement for a wall removal in a Queensland home includes a site inspection to confirm the wall's role and check the condition of the roof, floor and any existing structure it connects to; load calculations for the roof, ceiling and/or floor area the wall currently supports, factoring in wind loads relevant to your specific site classification and wind region; specification of the replacement beam, including its size, material and required bearing length at each end; specification of the posts, footings or existing structure needed to carry the new point loads the beam creates; and, importantly, certification.
In Queensland, structural work of this kind is typically documented with a Form 15 (Aspect Inspection Certificate) or Form 16 (Inspection Certificate) issued by a Registered Professional Engineer of Queensland (RPEQ), confirming the completed work matches the engineered design. These forms form part of the compliance record your certifier or building certifier will want to see, and they're also the paperwork that protects you at resale — a buyer's building inspector will specifically look for evidence that a removed wall was properly engineered.
Engineers can only certify what they can inspect and calculate for. If a wall is opened up or partially removed before the engineer has assessed the existing structure, you can end up paying for remedial investigation, temporary reinstatement, or a more conservative (and more expensive) design because the original conditions can no longer be confirmed.
Beam options compared
Once the engineer has calculated the loads, the replacement beam is chosen based on the span, the load it needs to carry, ceiling height constraints, and whether you want the beam concealed in the ceiling space (a "flush" or concealed beam, usually needing the ceiling built down or the truss/joist system re-hung above it) or exposed as a feature.
| Beam type | Typical span capability | Indicative supply & install cost (single storey) | Pros / cons |
|---|---|---|---|
| LVL (laminated veneer lumber) | Up to roughly 4-5m depending on load | $1,800 - $4,500 | Lightweight, easier to install, can twist if not restrained, needs to stay dry |
| Steel PFC / universal beam | Long spans, heavier loads, up to 6m+ | $2,800 - $7,000 | Strong, slimmer profile for a given load, needs cranage or careful manual handling, can need fire rating in some situations |
| Flitch beam (steel plate sandwiched in timber) | Moderate to long spans | $2,500 - $6,000 | Good where you need timber for fixing but steel strength; more labour to fabricate/install |
| Exposed feature beam (steel or engineered timber) | As above depending on material | Add $500 - $2,000 to base cost | Design feature, no ceiling drop needed, but must be planned early with the trades |
Concealed beams generally need the existing ceiling either dropped locally (a bulkhead) or the joists/trusses re-hung to sit above the new beam without a visible step in the ceiling. Exposed beams avoid that ceiling gymnastics but become part of the room's visual design, so material and finish choices (raw steel, painted, or a timber-look LVL) should be decided before you commit.
Posts, footings and where the load actually goes
A beam doesn't remove the load, it redirects it to two (or more) concentrated points — the posts at each end. This is the part of the job many DIY renovators overlook: the wall you're removing was likely spreading its load along its whole length, or transferring it to existing studs and the footing/slab beneath it. Concentrating that same load onto two posts means the ground, slab or subfloor at those two points needs to be able to take it.
On a slab-on-ground home, this can mean saw-cutting the slab and pouring a new pad footing under each post if the existing slab wasn't designed for a point load there — common in Pimpama, Coomera and Upper Coomera builds where the original engineering only accounted for a stud wall's line load. In a timber-floor Queenslander or highset home, it usually means new stumps, bearers or additional blocking under the floor at each post location, sized by the engineer based on the actual load. Skipping this step is one of the most common (and most expensive to fix later) shortcuts we see in unpermitted DIY wall removals.
Temporary propping and the safe removal sequence
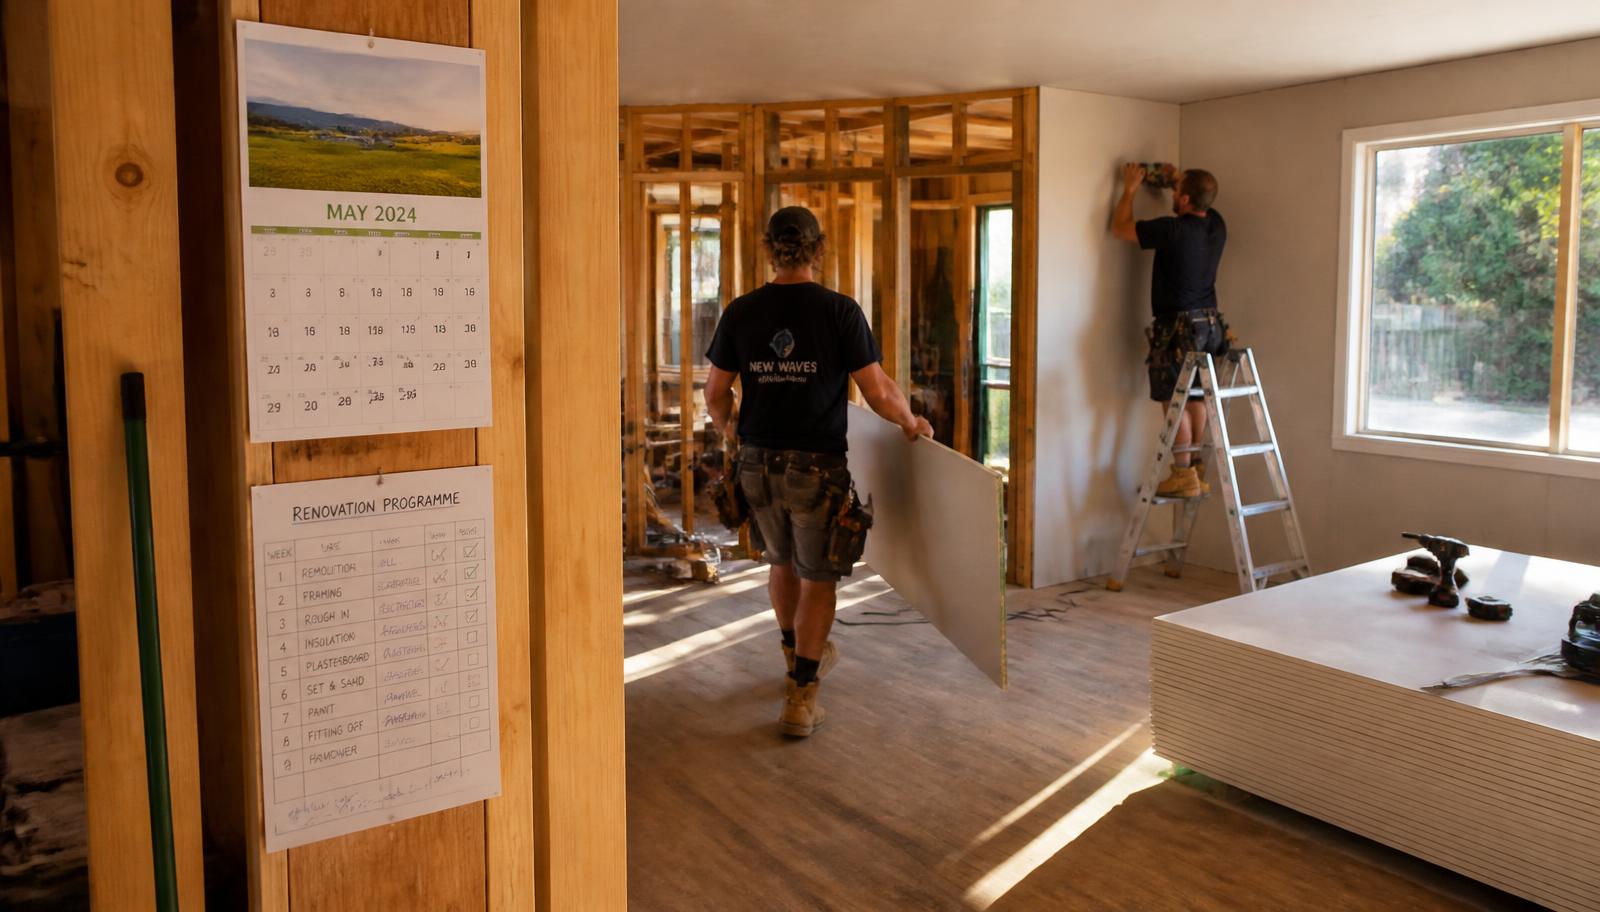
Removing a load bearing wall is a sequencing problem as much as a structural one. The wall can't come out until the load it's carrying is safely transferred to temporary props, and the permanent beam can't go in until the wall is out. Getting this sequence wrong is how ceilings crack, roofs sag, and in rare cases how people get seriously hurt.
- Engineer inspects the site, confirms the wall is load bearing (and whether it's also a bracing wall), and issues a design for the beam, posts and footings.
- Any required building approval or notification is confirmed before physical work starts.
- Services within the wall — power, data, plumbing, ducted air conditioning — are identified, isolated and, where needed, relocated by a licensed electrician or plumber.
- Adjustable steel props (with timber head plates spreading the load safely across the ceiling and floor) are installed either side of the wall, close to the ceiling line, to temporarily carry the load the wall currently supports.
- The wall lining, then the wall frame or masonry, is carefully removed section by section, checking the props are taking the load as expected.
- Footings or slab thickening for the new posts are prepared and cured if required before the permanent beam goes in.
- The engineered beam is lifted into position, fixed to the new posts, and connected per the engineer's design (bolted or coach-screwed connections, brackets, or welded steel connections as specified).
- Temporary props are removed only once the permanent beam and posts are confirmed load-bearing and correctly fixed.
- The engineer inspects the completed structural work and issues the Form 15/Form 16 certification.
- Ceiling, cornice, wall lining, flooring and paint make-good is completed, and any relocated services are reconnected and tested.
Not sure if your wall is structural, or ready to get a proper engineered assessment?
Get a fixed-price quoteMake-good: what happens after the beam is in
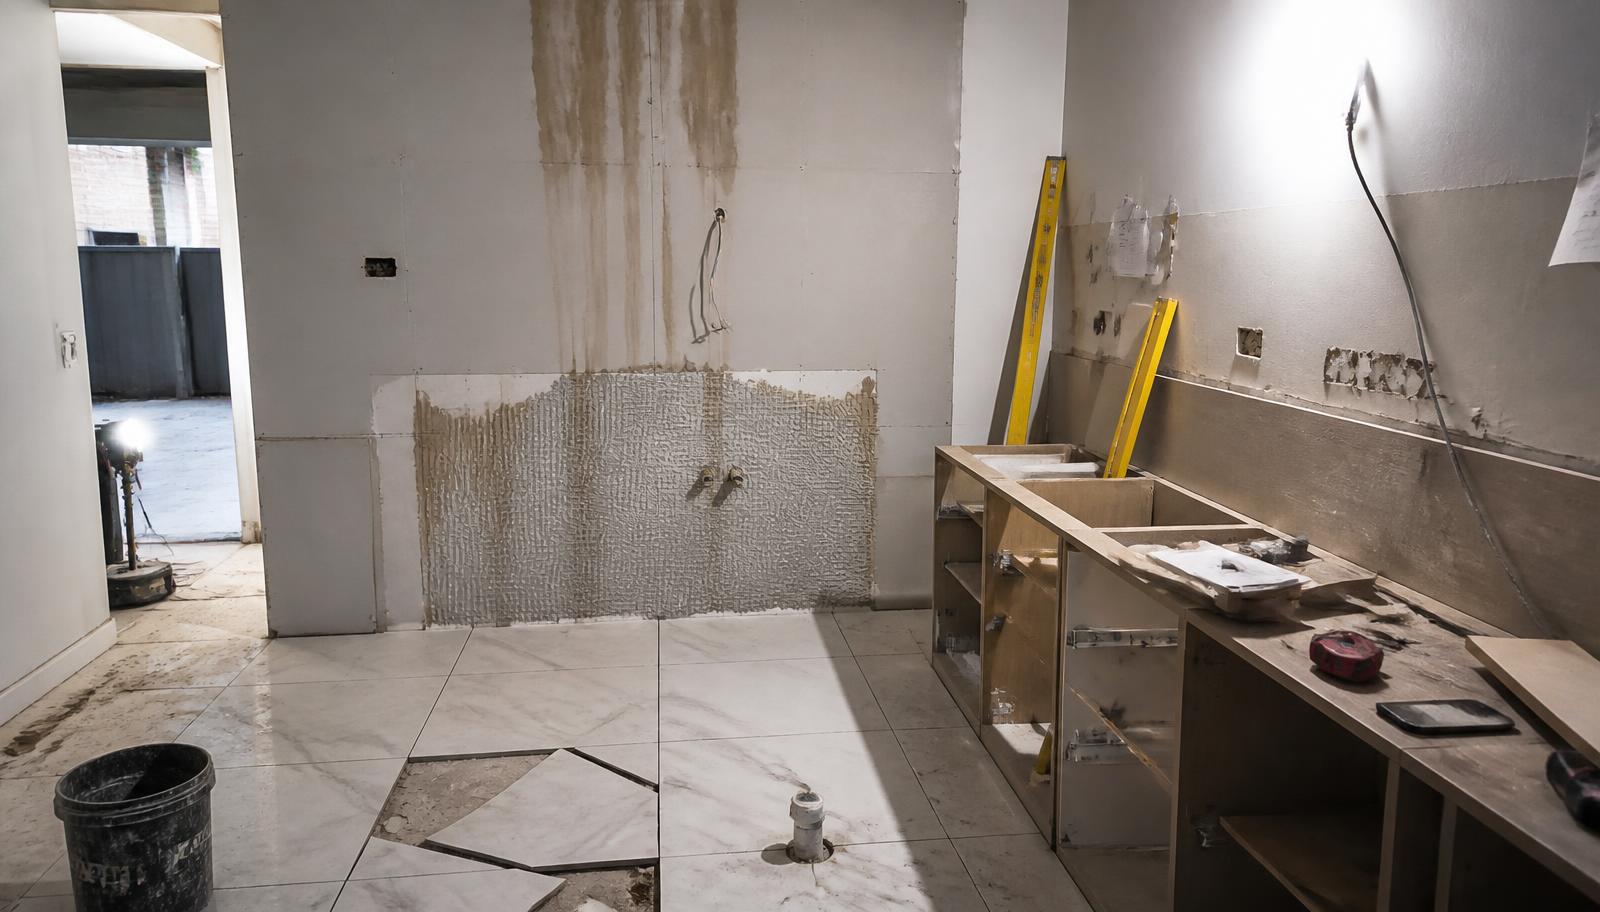
The structural work is only part of the job — the finish is what you'll actually live with. Removing a wall almost always means patching or replacing flooring where the wall's footprint was, re-sheeting and stopping the ceiling where a bulkhead has been added or joists have been re-hung, replacing cornice along the new junctions, and repainting the affected walls and ceiling (often the whole room, since patch-painting rarely matches existing paint exactly once it's aged). If the wall carried power points, light switches or a ducted air conditioning run, those need to be relocated by a licensed electrician before the wall lining goes on, not as an afterthought once the room is finished.
In brick-and-tile homes around Ashmore, Robina and Southport, removing a full masonry internal wall often leaves a step or difference in floor level or flooring type either side, since brick homes commonly have different floor finishes in different rooms — this needs to be planned for in the make-good budget, not discovered halfway through.
Single storey vs double storey, and Queenslander considerations
Single-storey brick veneer or slab homes are the most straightforward wall removals, because the wall usually only carries roof and ceiling loads, and there's no upstairs structure to protect. Double-storey homes are a different order of complexity: a ground-floor wall may be carrying an upstairs wall, floor joists, and roof loads combined, meaning larger beams, bigger posts, and often engineering for the upstairs floor structure as well as the roof.
Queenslanders and highset homes bring their own quirks. Original stumped floor framing may need additional support if a post from an upstairs wall removal needs to carry down through the floor to new footings or additional stumps below. VJ walls and tongue-and-groove linings common in these homes are harder to patch invisibly than plasterboard, so many owners choose to reline the whole room rather than patch match. And because many Queenslanders have been extended, re-stumped or altered over the decades, the "as-built" structure frequently differs from any original plans — another reason a site inspection beats a plan search every time.
Is my wall load bearing? Quick assessment checklist
- Check the roof space directly above the wall — do trusses or ceiling joists bear on it, or run parallel above it?
- Is the wall positioned under or near the ridge line, or roughly midway between two external walls?
- Is there a matching wall directly above on the second storey (for double-storey homes)?
- On a slab home, is there a visible thickened strip of slab under the wall?
- Is the wall full masonry rather than lightweight stud?
- Have you found original approved plans, and do they show this wall as structural or as a bracing element?
- Has the wall, or the roof/floor structure around it, ever been altered since the home was built?
- Have you had a structural engineer physically inspect it, rather than relying on assumptions from a plan or a photo?
Approvals: what Queensland actually requires
Structural building work, including removing or altering a load bearing or bracing wall, generally requires building approval in Queensland, obtained either through your local council or a private building certifier, supported by the structural engineer's design documentation. This is separate from (and usually simpler than) a full development application, but it is not something you can skip because the work is "internal." Building approval exists specifically because internal structural changes affect the safety of the whole building. Your certifier will typically require the engineer's drawings and computations up front, and will inspect (or accept the engineer's Form 15/Form 16 certification for) the completed structural work before issuing a final certificate.
Skipping approval doesn't just create legal risk — it creates a very real practical problem at resale, when an unapproved structural alteration can be picked up by a building and pest inspector and become a condition of sale, a price renegotiation point, or in some cases require retrospective engineering and approval before a sale can proceed.
Pre-works checklist before any wall comes out
- Structural engineer engaged and site inspection completed
- Engineered design received for beam, posts and footings
- Building approval or certifier sign-off obtained for the structural work
- Services in the wall identified and a licensed electrician/plumber briefed
- Beam material selected and lead time confirmed with supplier
- Propping equipment and installer booked
- Make-good scope agreed — flooring, ceiling, cornice, paint
- Access and any crane or lifting requirements for steel beams confirmed
- Written fixed-price quote covering structural, approval and make-good stages
What it actually costs in South East Queensland
Costs vary with wall length, beam type, storey count, construction type and how much make-good is involved, but the table below gives a realistic indicative range for 2026 based on typical scenarios we see across Gold Coast and Logan suburbs. All figures are indicative only and subject to a site inspection and engineer's assessment — no two walls are identical.
| Cost item | Single storey (brick veneer or slab home) | Double storey (ground floor wall) |
|---|---|---|
| Structural engineer (inspection, design, certification) | $900 - $1,800 | $1,300 - $2,500 |
| Building approval / certifier | $500 - $1,200 | $600 - $1,500 |
| Beam (LVL or steel, supplied and installed) | $1,800 - $5,000 | $3,000 - $8,000 |
| Posts and footings | $600 - $2,000 | $1,000 - $3,500 |
| Temporary propping | $400 - $900 | $500 - $1,200 |
| Electrical/services relocation | $300 - $1,500 | $500 - $2,000 |
| Make-good: ceiling, cornice, flooring, paint | $1,500 - $4,000 | $2,000 - $5,500 |
| Total indicative range | $6,000 - $16,400 | $8,900 - $24,200 |
A low quote that doesn't separately price engineering, approval, propping and make-good is often missing one of them entirely — usually make-good, which then arrives as a costly surprise once the beam is in and the room is a mess. Ask for a written, itemised fixed-price quote before work starts.
Common mistakes we see
- Removing a wall based on a tradesperson's visual guess rather than an engineer's calculation
- Assuming a wall isn't structural because it's lightweight stud rather than brick
- Overlooking that the wall was also a bracing element, not just a vertical load bearing one
- Concentrating loads onto posts without checking the footing or slab underneath can actually take it
- Cutting or notching a truss to make a beam fit, without truss manufacturer or engineer sign-off
- Starting demolition before the engineer has inspected the existing structure
- Leaving services live in the wall during demolition
- Underbudgeting for make-good, especially flooring transitions in brick-and-tile homes
- Proceeding without building approval, creating problems at resale
Want to see roughly what an open-plan conversion could look like and cost before you commit?
Try the AI RenovatorWhere we do this work
We regularly carry out structural wall removals and open-plan conversions in brick-and-tile homes around Ashmore, Robina, Southport, Broadbeach and Burleigh Heads, in Queenslanders and post-war homes across Logan suburbs including Springwood, and in newer slab-on-ground builds in Pimpama, Upper Coomera and Coomera. We also work throughout Logan. Every job starts the same way: an on-site assessment, an engineer's inspection where the wall's role isn't already obvious, and a written fixed-price quote that separates engineering, approval, structural work and make-good so there are no surprises partway through.